Fish protein liquid fertilizer is a highly effective organic fertilizer that offers numerous benefits for plant growth, including promoting healthy root development, enhancing soil structure, and increasing nutrient absorption. This fertilizer is rich in nitrogen, phosphorus, and trace minerals, making it a great choice for both garden and agricultural applications. In this guide, we will walk you through the process of making fish protein liquid fertilizer, highlighting the steps, materials, and equipment required.
What You’ll Need
Before we dive into the process of making fish protein liquid fertilizer, it’s important to gather all the necessary ingredients and tools. Here’s a list of what you’ll need:
| Item | Purpose |
|---|---|
| Fish (whole or parts) | Main source of protein for the liquid fertilizer |
| Water | Used to dilute and extract nutrients |
| Fermentation Container | A large container for fermenting the mixture |
| Air Pump/Oxygen Supply | To aerate the mixture and promote fermentation |
| Strainer or Cheesecloth | To filter out solids after fermentation |
| Organic Molasses or Sugar | Enhances fermentation and boosts nutrient content |
| pH Meter or Test Strips | To measure and adjust pH if necessary |
| Storage Bottles or Jars | To store the final liquid fertilizer |
With all the materials ready, let’s proceed with the step-by-step guide to making your own fish protein liquid fertilizer.
Step 1: Preparing the Fish
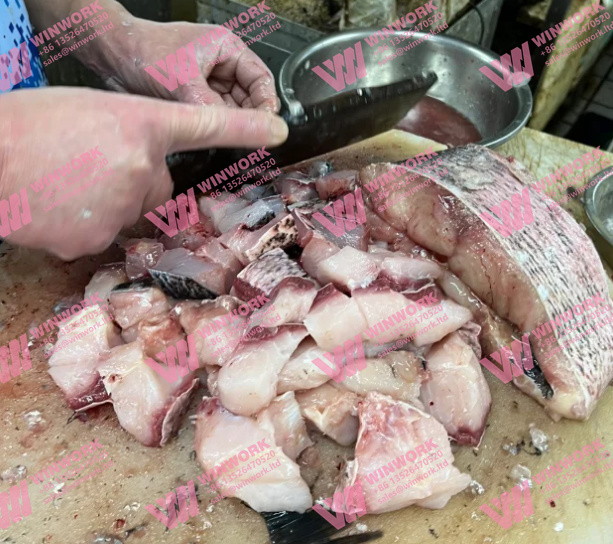
The first step in the process of making fish protein liquid fertilizer is preparing the fish. You can use any fish parts, including the whole fish, fish scraps, or even fish byproducts. Fish waste, such as bones and heads, also work well as they are high in protein and essential nutrients.
To prepare the fish:
- Clean the Fish: If using whole fish or fish parts, rinse them to remove any excess scales, blood, or residues.
- Chop the Fish: Cut the fish into smaller pieces (or mash it) to increase the surface area for fermentation and nutrient release.
- Optional – Blend the Fish: If using a blender, blend the fish to create a slurry for easier fermentation.
Step 2: Mixing with Water and Adding Molasses
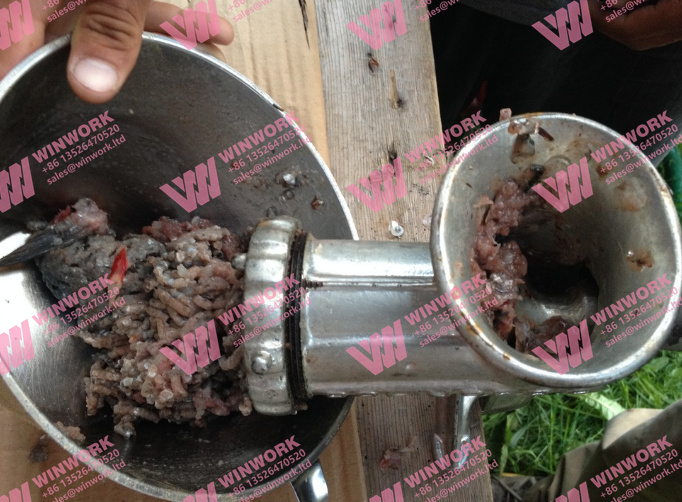
Next, place the prepared fish pieces into your fermentation container. Add enough water to fully submerge the fish, keeping in mind that the water-to-fish ratio is crucial for creating a balanced fertilizer. For every 1 kg of fish, use about 3 to 4 liters of water.
To enhance fermentation and nutrient production:
- Add Organic Molasses or Sugar: Adding 50 grams of molasses per liter of water will help to jump-start the fermentation process. Molasses serves as a sugar source that promotes the growth of beneficial bacteria, which breaks down the organic material more efficiently.
- Mix the Solution: Stir the fish-water-molasses mixture thoroughly to ensure even distribution.
Step 3: Fermenting the Mixture
Fermentation is the key process in making fish protein liquid fertilizer. The microorganisms in the mixture break down the fish proteins and other organic matter into nutrients that plants can absorb more easily. To encourage effective fermentation, you need to ensure the right conditions:
- Aerate the Mixture: Use an air pump or manual stirring to provide oxygen, which promotes the growth of beneficial bacteria. Aeration helps prevent bad odors and ensures the fermentation process is aerobic.
- Seal the Container: Cover the container with a lid or cloth to keep dust out but still allow air circulation. If you are using a sealed lid, ensure there are small holes for ventilation.
- Allow Fermentation: Place the container in a warm, dark place (ideally between 25°C – 35°C). Fermentation usually takes about 2 to 4 weeks, but it may take longer depending on environmental conditions.
During the fermentation process, you may notice bubbles or foam forming on the surface—this is a sign that the microorganisms are working. Stir the mixture once a day to help the breakdown process.
Step 4: Straining the Fertilizer
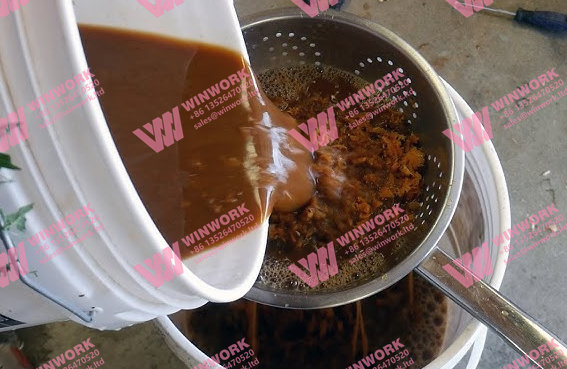
After the fermentation period, it’s time to strain the liquid. This step ensures that only the nutrient-rich liquid remains, free from any solid fish particles.
- Strain the Mixture: Use a fine strainer or cheesecloth to separate the solid fish remnants from the liquid. You can compost the solid residue or use it in other gardening applications.
- Store the Liquid: Transfer the strained liquid fertilizer into clean bottles or jars for storage. Make sure the containers are tightly sealed to prevent contamination.
Step 5: pH Adjustment
Fish protein liquid fertilizer tends to be slightly acidic, so it’s important to check the pH before applying it to your plants. The ideal pH for this fertilizer is between 6 and 7. If the pH is too low (acidic), you can add a small amount of lime or baking soda to bring it to the desired range. Conversely, if it’s too high, you can add a little vinegar to lower the pH.
You can test the pH using a pH meter or test strips, both of which are easy to use and can help you make necessary adjustments.
Step 6: Applying the Fish Protein Liquid Fertilizer

Once the fertilizer is ready, you can apply it to your plants. Fish protein liquid fertilizer can be used both as a foliar spray or directly on the soil.
Application Methods:
- Soil Application: Dilute the fish protein liquid fertilizer with water (about 1:10 ratio) and apply it directly to the base of the plants. This helps to enrich the soil with essential nutrients and improve soil health.
- Foliar Spray: Dilute the fertilizer further (about 1:20 ratio) and apply it directly to the leaves. Foliar feeding allows plants to absorb nutrients quickly, especially during growth spurts.
Benefits of Using Fish Protein Liquid Fertilizer:
- Improved Plant Growth: Provides a natural source of nitrogen and phosphorus, promoting healthy root and shoot development.
- Increased Resistance: Strengthens plants’ natural defenses against pests and diseases.
- Enhanced Soil Health: Improves soil microbial activity and structure, resulting in better water retention and nutrient availability.
Final Thoughts on Making Fish Protein Liquid Fertilizer
Making fish protein liquid fertilizer at home is a simple and cost-effective way to provide your plants with essential nutrients. By using organic waste materials like fish, you not only recycle natural resources but also create a highly effective fertilizer that can help boost plant health and improve crop yields.
With the proper preparation, fermentation, and application techniques, your plants will benefit from the rich nutrients that fish-based fertilizer provides. By following the steps outlined in this guide, you can make your own fish protein liquid fertilizer, contributing to more sustainable gardening practices and healthier plants.




Get A Quote